UV Mapping can be a lot tricky and hard when you are modeling something.
How to fix bad UV Map.
Fortunately, Blender has some cool features to make it easier for you.
In this article, you’ll learn some of it and I hope it will point you in the right direction if doesn’t solve your problem.
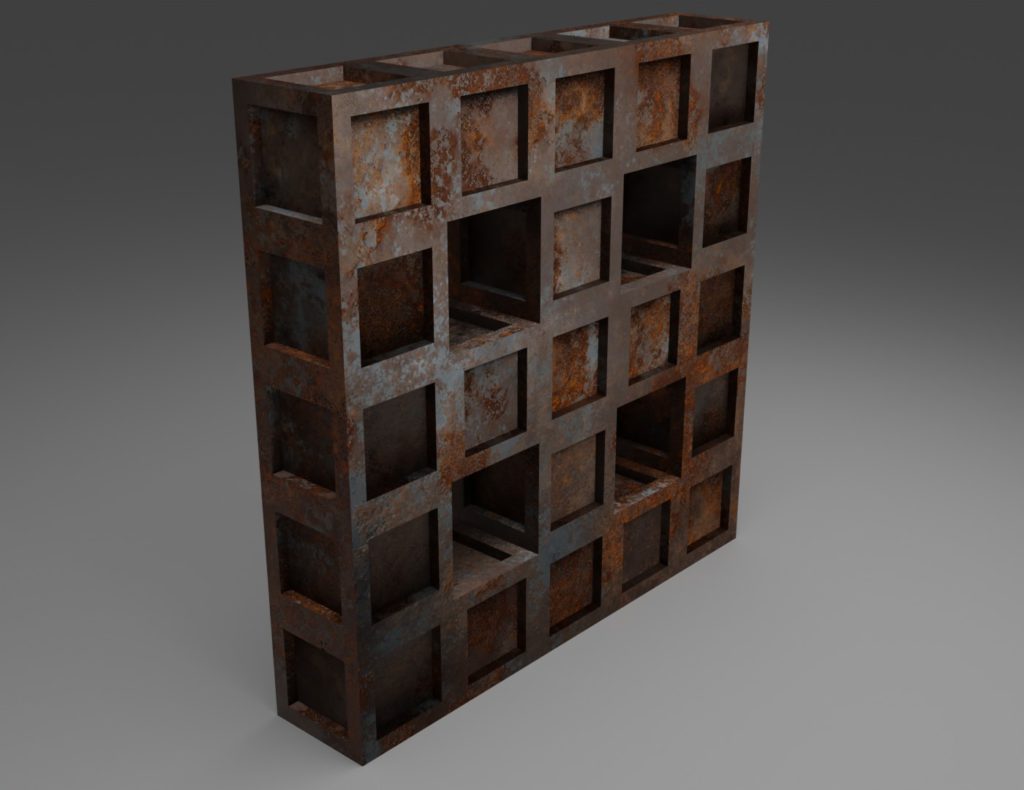
For this article, we have this simple model ready and we try to add some material to it.

Now let’s add our material. Go to the “Shading” tab and create a new material. and add these textures to it. You can download the textures here.
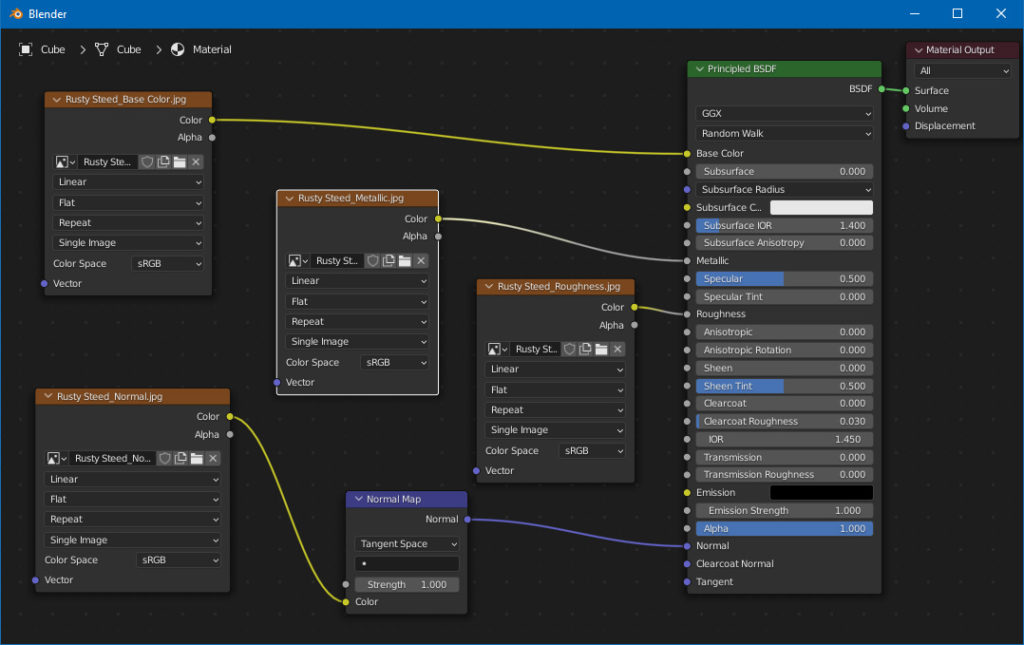
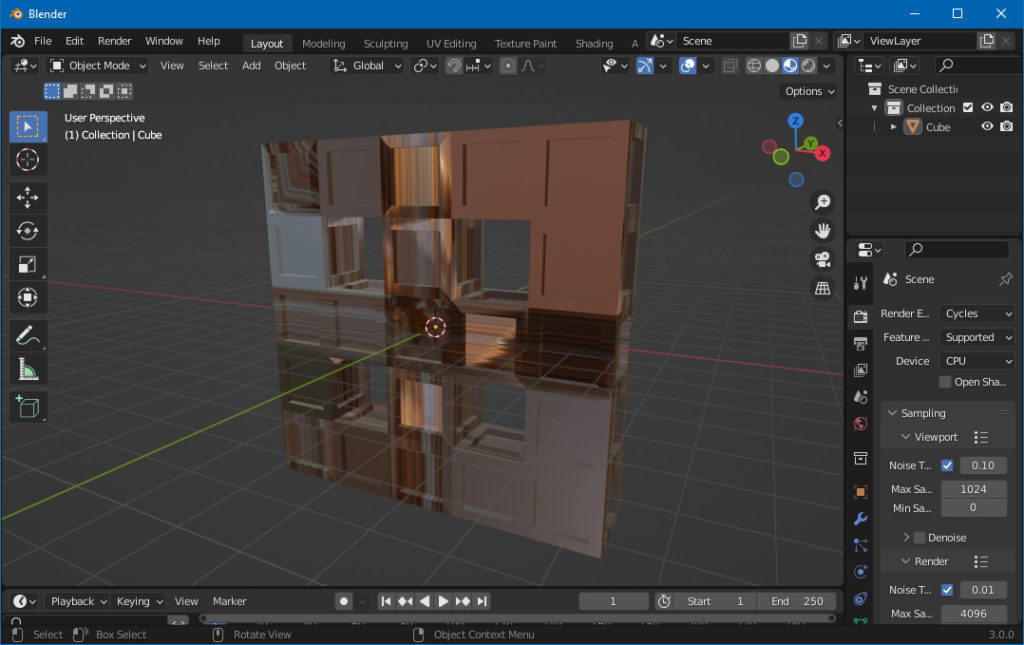
The model should look something like this in the material preview.
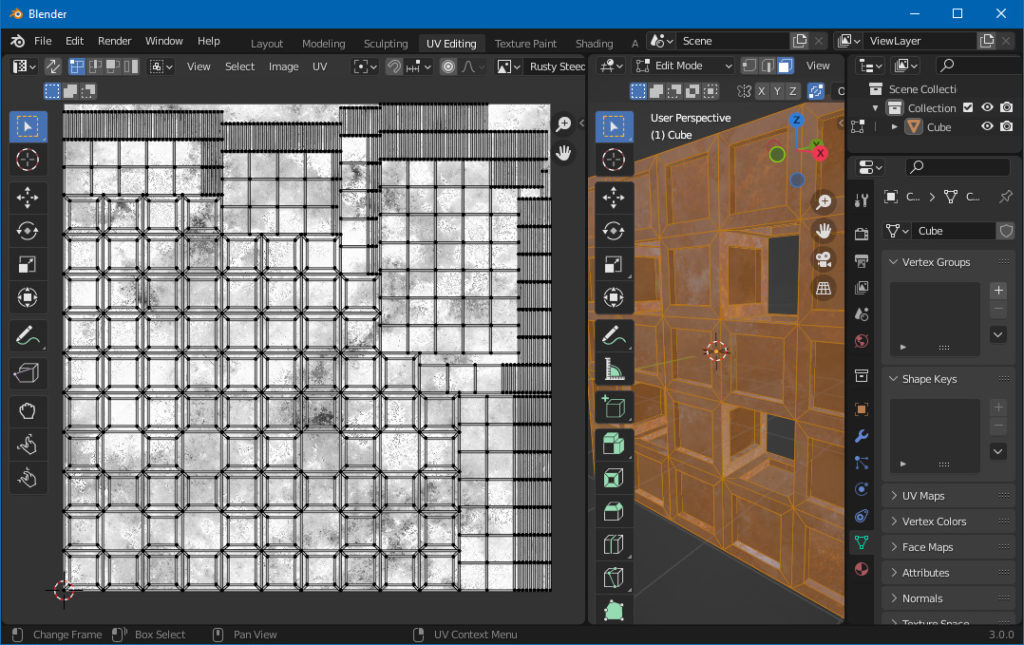
Now here comes the main part. Go to the UV Editing tab and select your model. hit the tab button to switch to Edit Mode.
Press A to select all faces. Now our UV Map is looking like this.
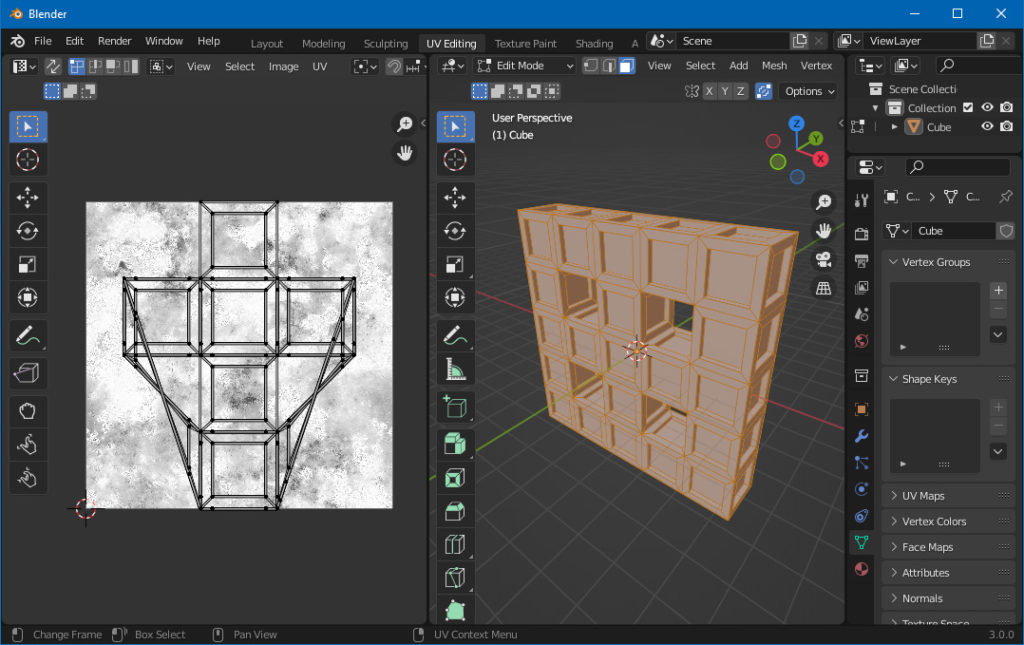
To change it simply go to UV > Smart UV Project > OK

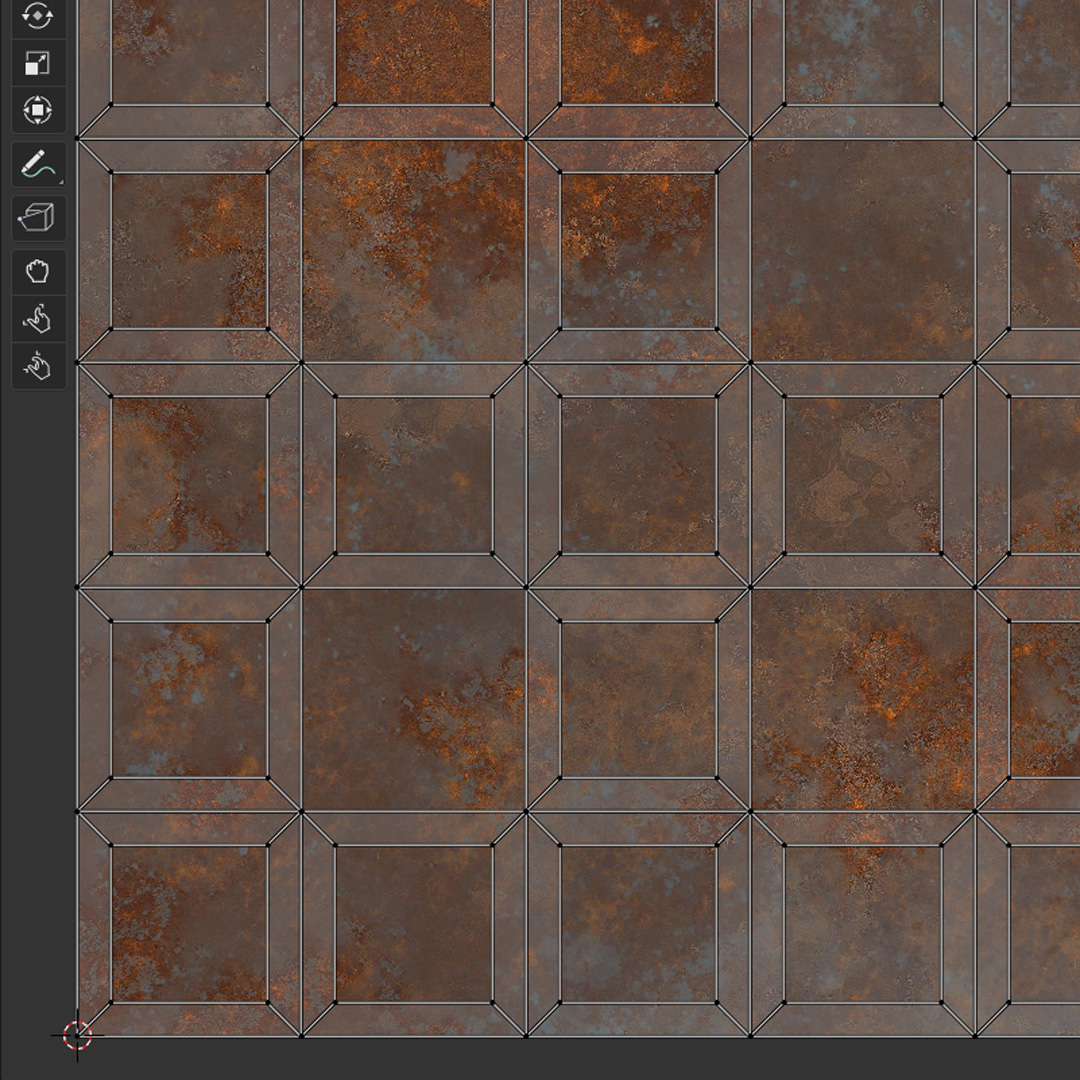
Now The UV Map should look like this.
Now Let’s Check it in Material Preview.
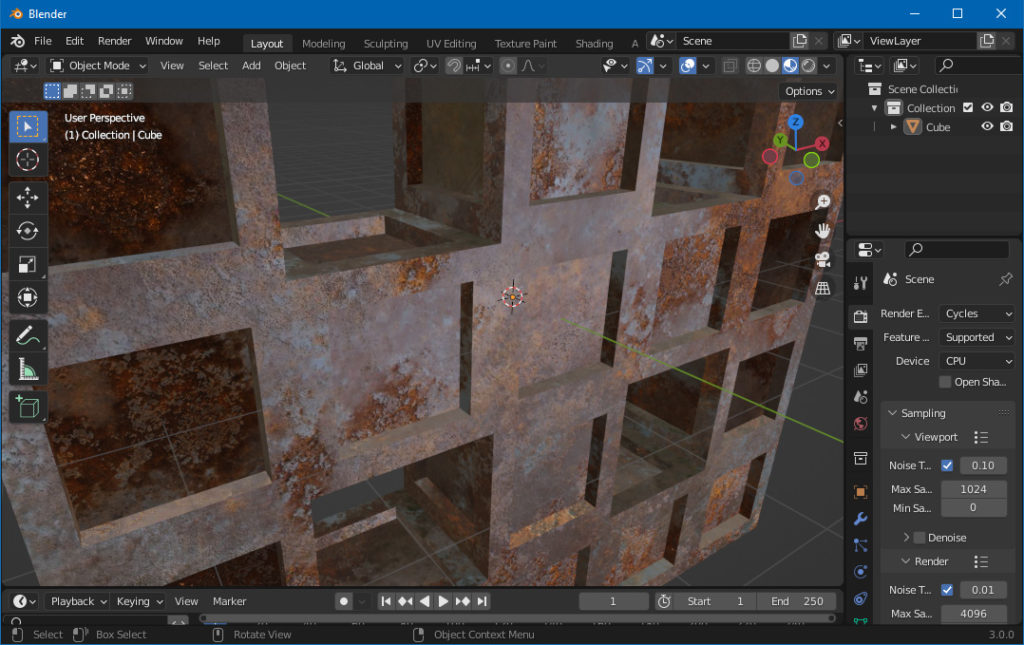
And Now Let’s Render it.